eXport-it android UPnP/HTTP Client/Server
an Android wireless file sharing application for video, audio, images and ebooks

You must use an URL as given on the eXportit server window either the local server (on the Wifi network) URL on the left side of the “server” window, or the external ip address URL on the right side.
Using simple HTTP, you must get a page like here below, listing all the exported files.
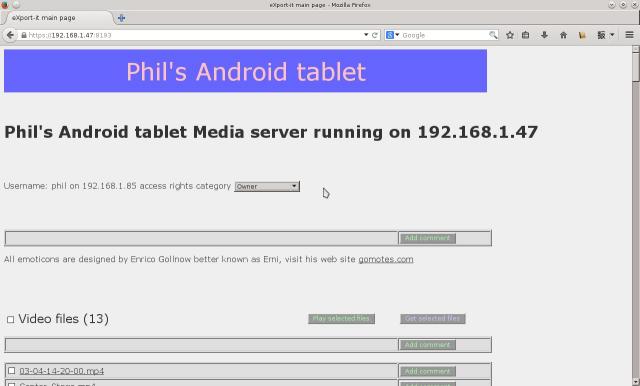
If you define at least one user name in the server configuration before starting it, you have to give your user name and password to connect on the server.
If you are using HTTPS, these text fields are directly sent encrypted (strong) over the network. In HTTP the password is RSA encrypted by a javascript using a dynamically built X509 certificate. This certificate is prepared at server start-up, and is never the same.
If you want to come back to this login page later when using the application, you have just to enter
the simple URL pointing to the HTTP server on your browser, something like //111.22.33.44:8192 or https://111.22.33.44:8193
and then you can login again. You are automatically logged out after 10 minutes without use.
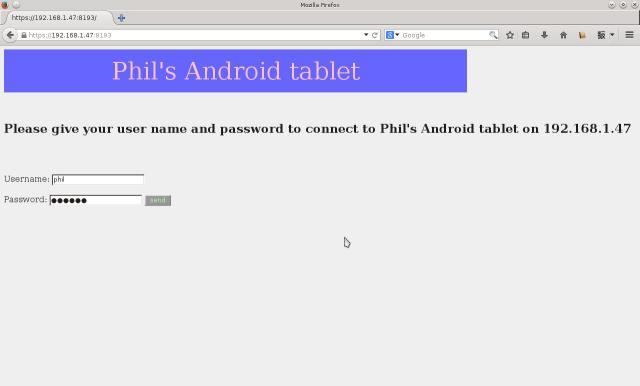
Finally, you get the HTML page containing the list of the exported data files.
Finally, you get the HTML page containing the list of the exported data files. If you used the authentication procedure (and only in this case), this list depends on the category set for the user name you use. If you are considered as an "Owner", you get the same HTML page than with simple HTTP without authentication. Your list is shorter if your user name is part of one of the two other categories.
If a user has access to more than one category, a drop down list permits to go from one to another.
It looks good to set together the files related to the same topic.
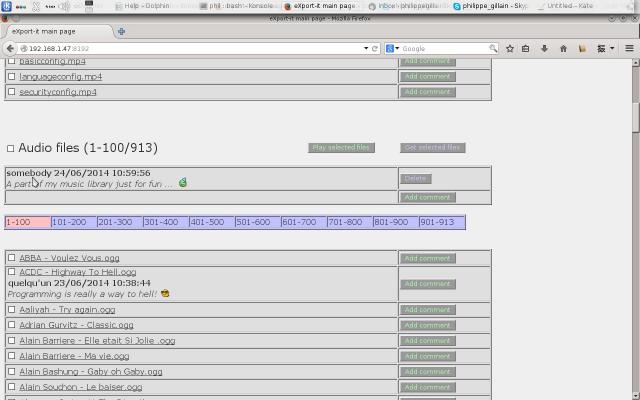
On this Web page, you can click directly on a file, then the default setting of your browser will be used,
by sample video plugin can be used. The other way consists on using the checkbox to select files then clicking on the “Play” button on the top of the list,
and a avacript with HTML5 instruction will be executed. We have the limitations of HML5 on the browser you are using.
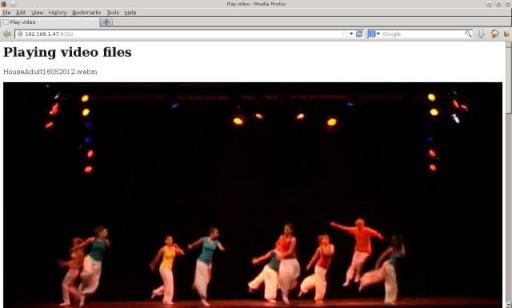
In this image the first video of a selection of three files is played. We are using an HTML5 video element on Firefox. The file must be a webm, an MP4 H.264, or an ogg video file.
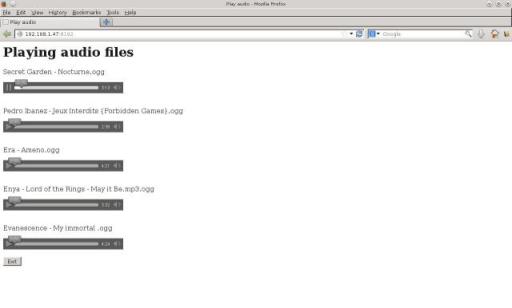
You have the same type of restriction when selecting a list of songs. Firefox and Opera support only ogg files, my current Chrome version supports still mp3 in addition to ogg.
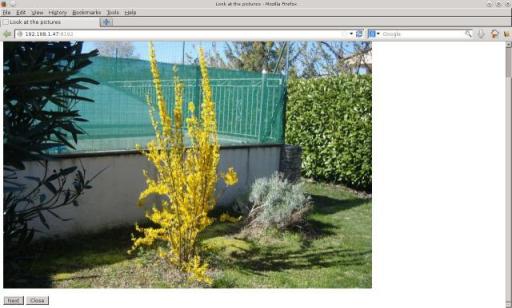
You can also look at a list of pictures (jpeg, gif and png). Images are shown for 3 seconds.
You can pause it just clicking in the middle, click left or right of the image to go backward or forward.
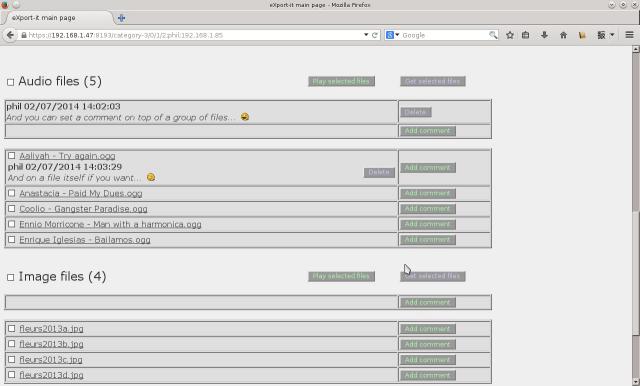
You can write comments at the top of the page thus per category, then you can also insert comment per group of files like video, audio,.. Finally you have the opportunity to add comments per file.
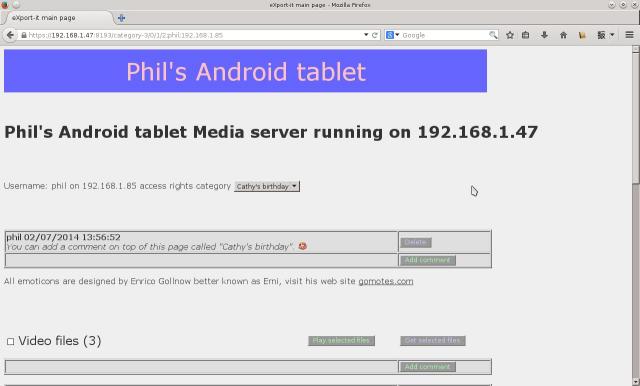
Only the writer of a comment and the members of the "owner" category can delete a comment.
When using simple HTTP on the Wifi network, there is no authentication and all users are considered as administrators, they can delete all comments.
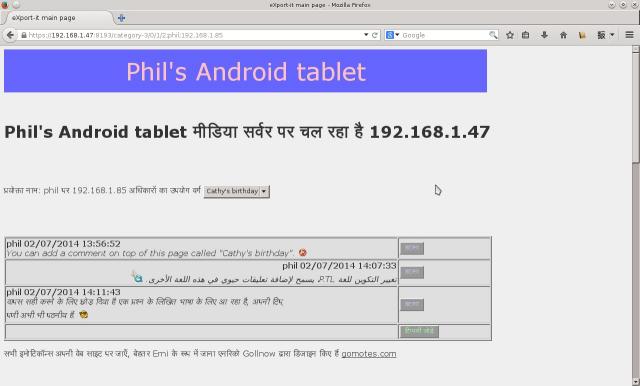
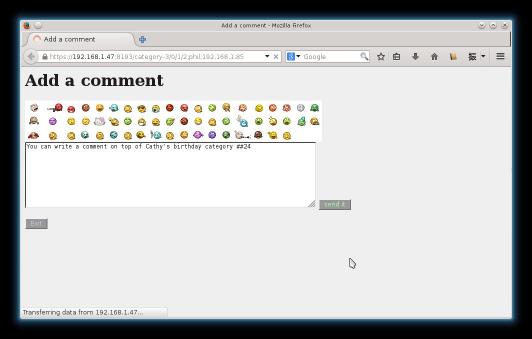
You can insert emoticons at cursor position when writing a comment just selecting it in the list just above the text entry field. The emoticon is not shown as an image in this pure text zone but like the index preceded by two "#" signs.
If you want you can write a "left to right" text with your server configured in a language using this direction, then switch the server to a "right to left" language for writing comments in the other direction. A comment takes the configured language of the server at the time it is written. The language of the server can be changed dynamically.
The comments defined in the "owner" category are written in all categories, together with the comments of that category. The owner can provide global information on what he is sharing without rewriting it in all categories.
